Introduction
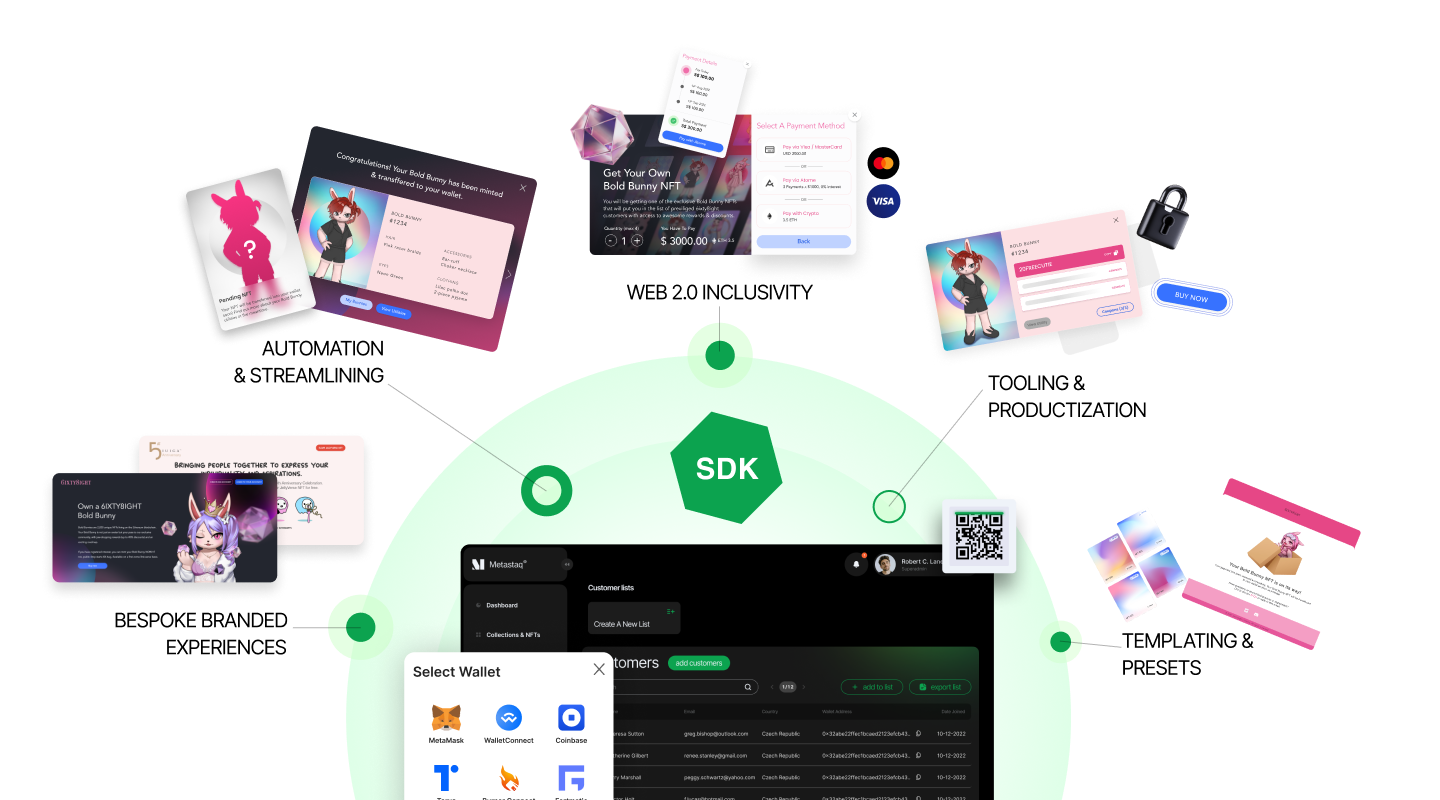
Metastaq enables brands and creators with bespoke utility-based web3.0 experiences. Maintain full control over your branding, form deeper connections with your customers and fans, and create real value for your NFTs. Everything via one platform.
🏛️ Architecture
Metastaq is headless NFT platform. We offer a managed backend for blockchain automation and a Sdk suite for your frontend experience. This gives you Unparalleled power in the style, branding, and distribution of your IP. Below we briefly discuss the architecture:
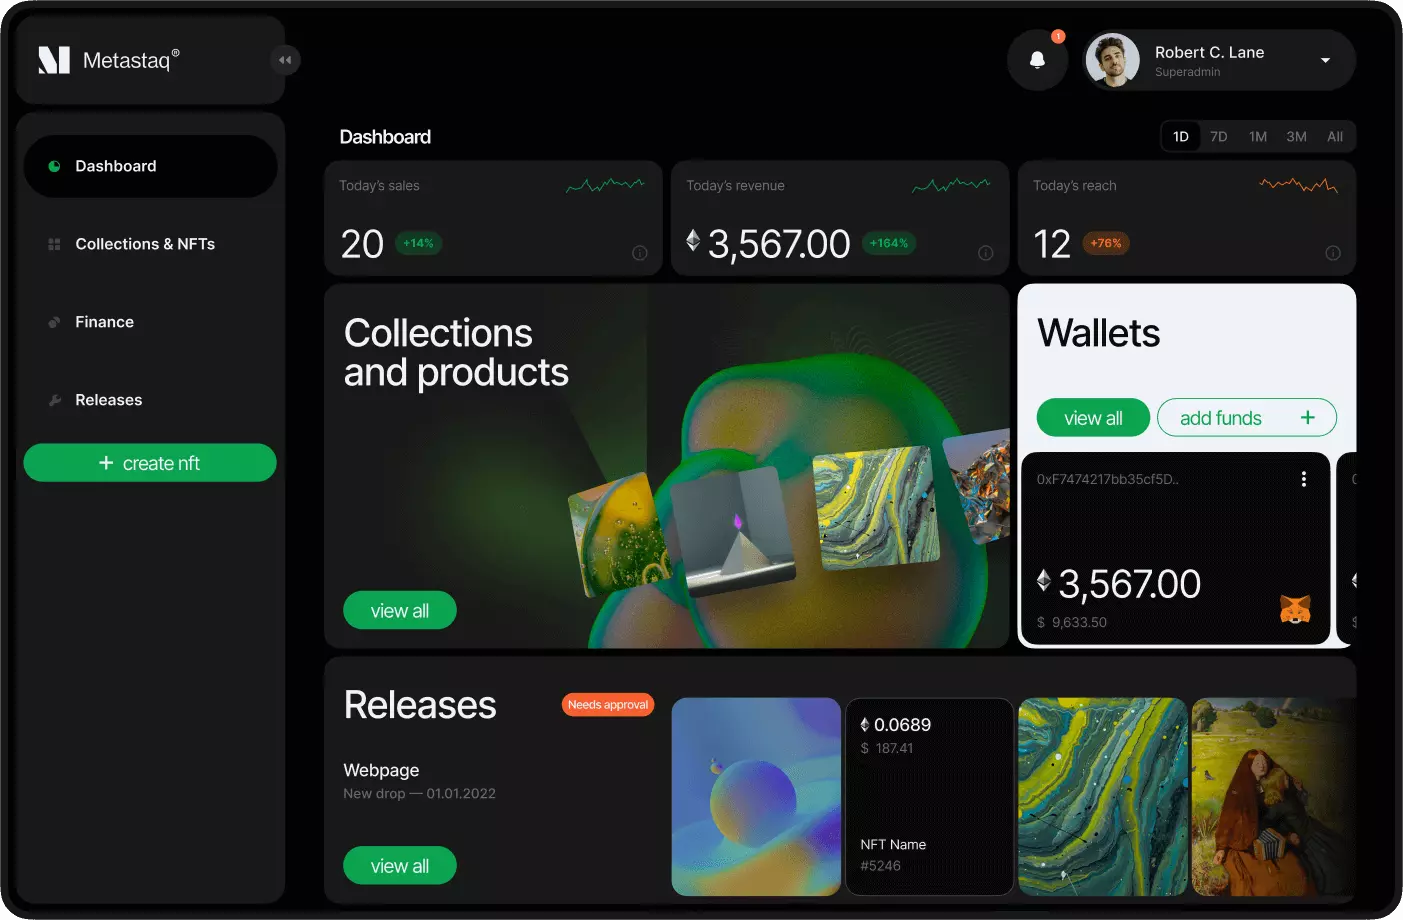
🖥️ Creator Panel
The creator panel is used to create your own NFTs. Here you can upload and provide your images and create your personalized NFTs. When creating NFTs, there are two primary components in the creator panel, one is to create a collection, and the other is to create a release after the contract is deployed. When creating a collection, you get a collectionID; when creating a release after the contract is deployed, you get a releaseID. Copy both, as you will need them when initializing your Metastaq instance. Storefront: The storefront is the panel where you present your NFTs to users. Here users can log into your custom storefront and purchase your NFTs. Where does Metastaq SDK come in? You need Metastaq SDK to create your custom storefront. Here you will find all the practical methods you need to create a Storefront. In the following sections, you will learn more about the ways that SDK exports.
Here are few things you can do via creator panel:
Connect to the most popular EVM compliant wallets
Top up your wallet with crypto currency
Create, upload and edit NFT images and metadata
Create highly customize able smart contracts
Update your smart contracts
Deploy your experience to ethereum or polygon
Manage customers via dedicated CRM
Manage transaction history
Add team members and collaborate
there is two main parts in creator panel when we create nfts, first is creating a collection and other is creating a release after deploying the contract. on creating a collection you will get a collectionId and after deploying the contract when you create a release you will get a releaseID. copy both of them as you will be needing it to in initialize your metastaq instance.
📒 CORE SDK
Core SDK is a feature packed tool-set to create highly customizable web3 experiences. We offer various composable components that you can use to create native drops or loyalty programs. it includes:
Tools for creating hypes and building whitelists.
Web2 and web3 User onBoarding via EVM wallets or custom onramps
Payment integrations via Fiat and crypto
Fetch your NFT details and metadata
Fetch blockchain data such as gas price and Ethereum price
🛠️ Installation
Get started by installing npm package. it will install all required dependencies.
npm i metastaq-sdk
OR
yarn add metastaq-sdk