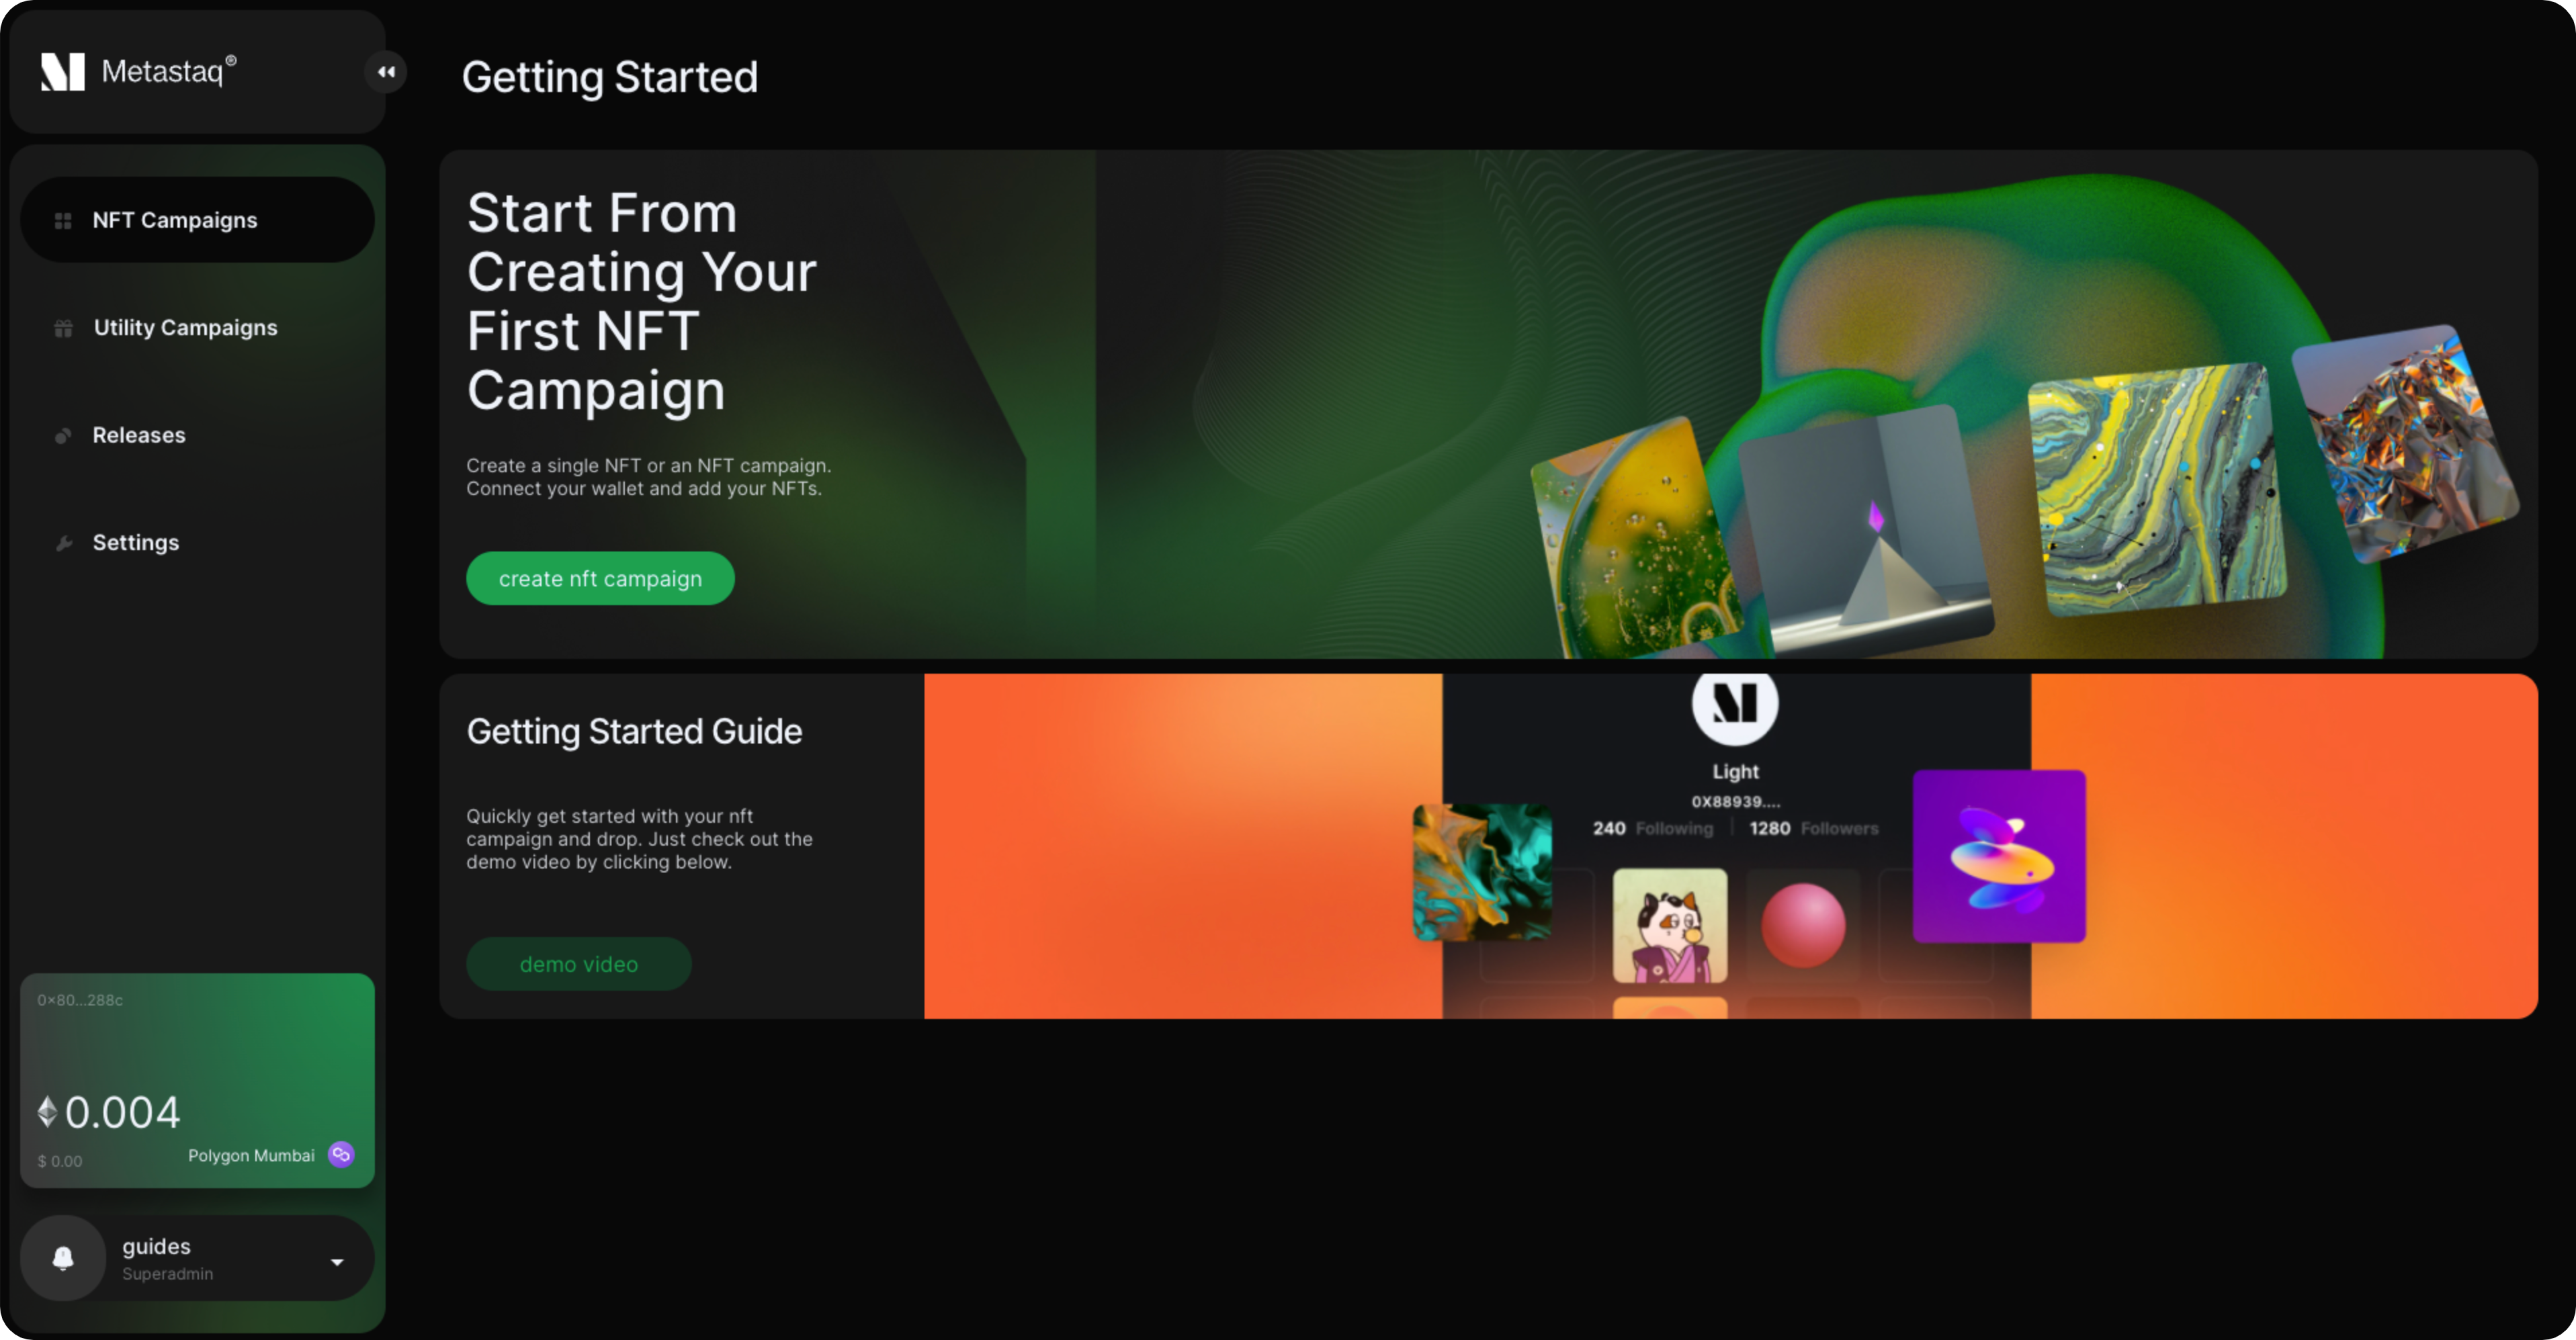
Creating an NFT Campaign
Creating an NFT campaign through Metastaq by deploying your own contract is an easy process. This article provides a step-by-step guide on how to deploy and mint NFTs on various networks including Ethereum MainNet, Polygon MainNet, Mumbai (Polygon TestNet), or Goerli (Eth TestNet).
After creating your account, click Create NFT Campaign:
Choose the type of contract you would like to create:
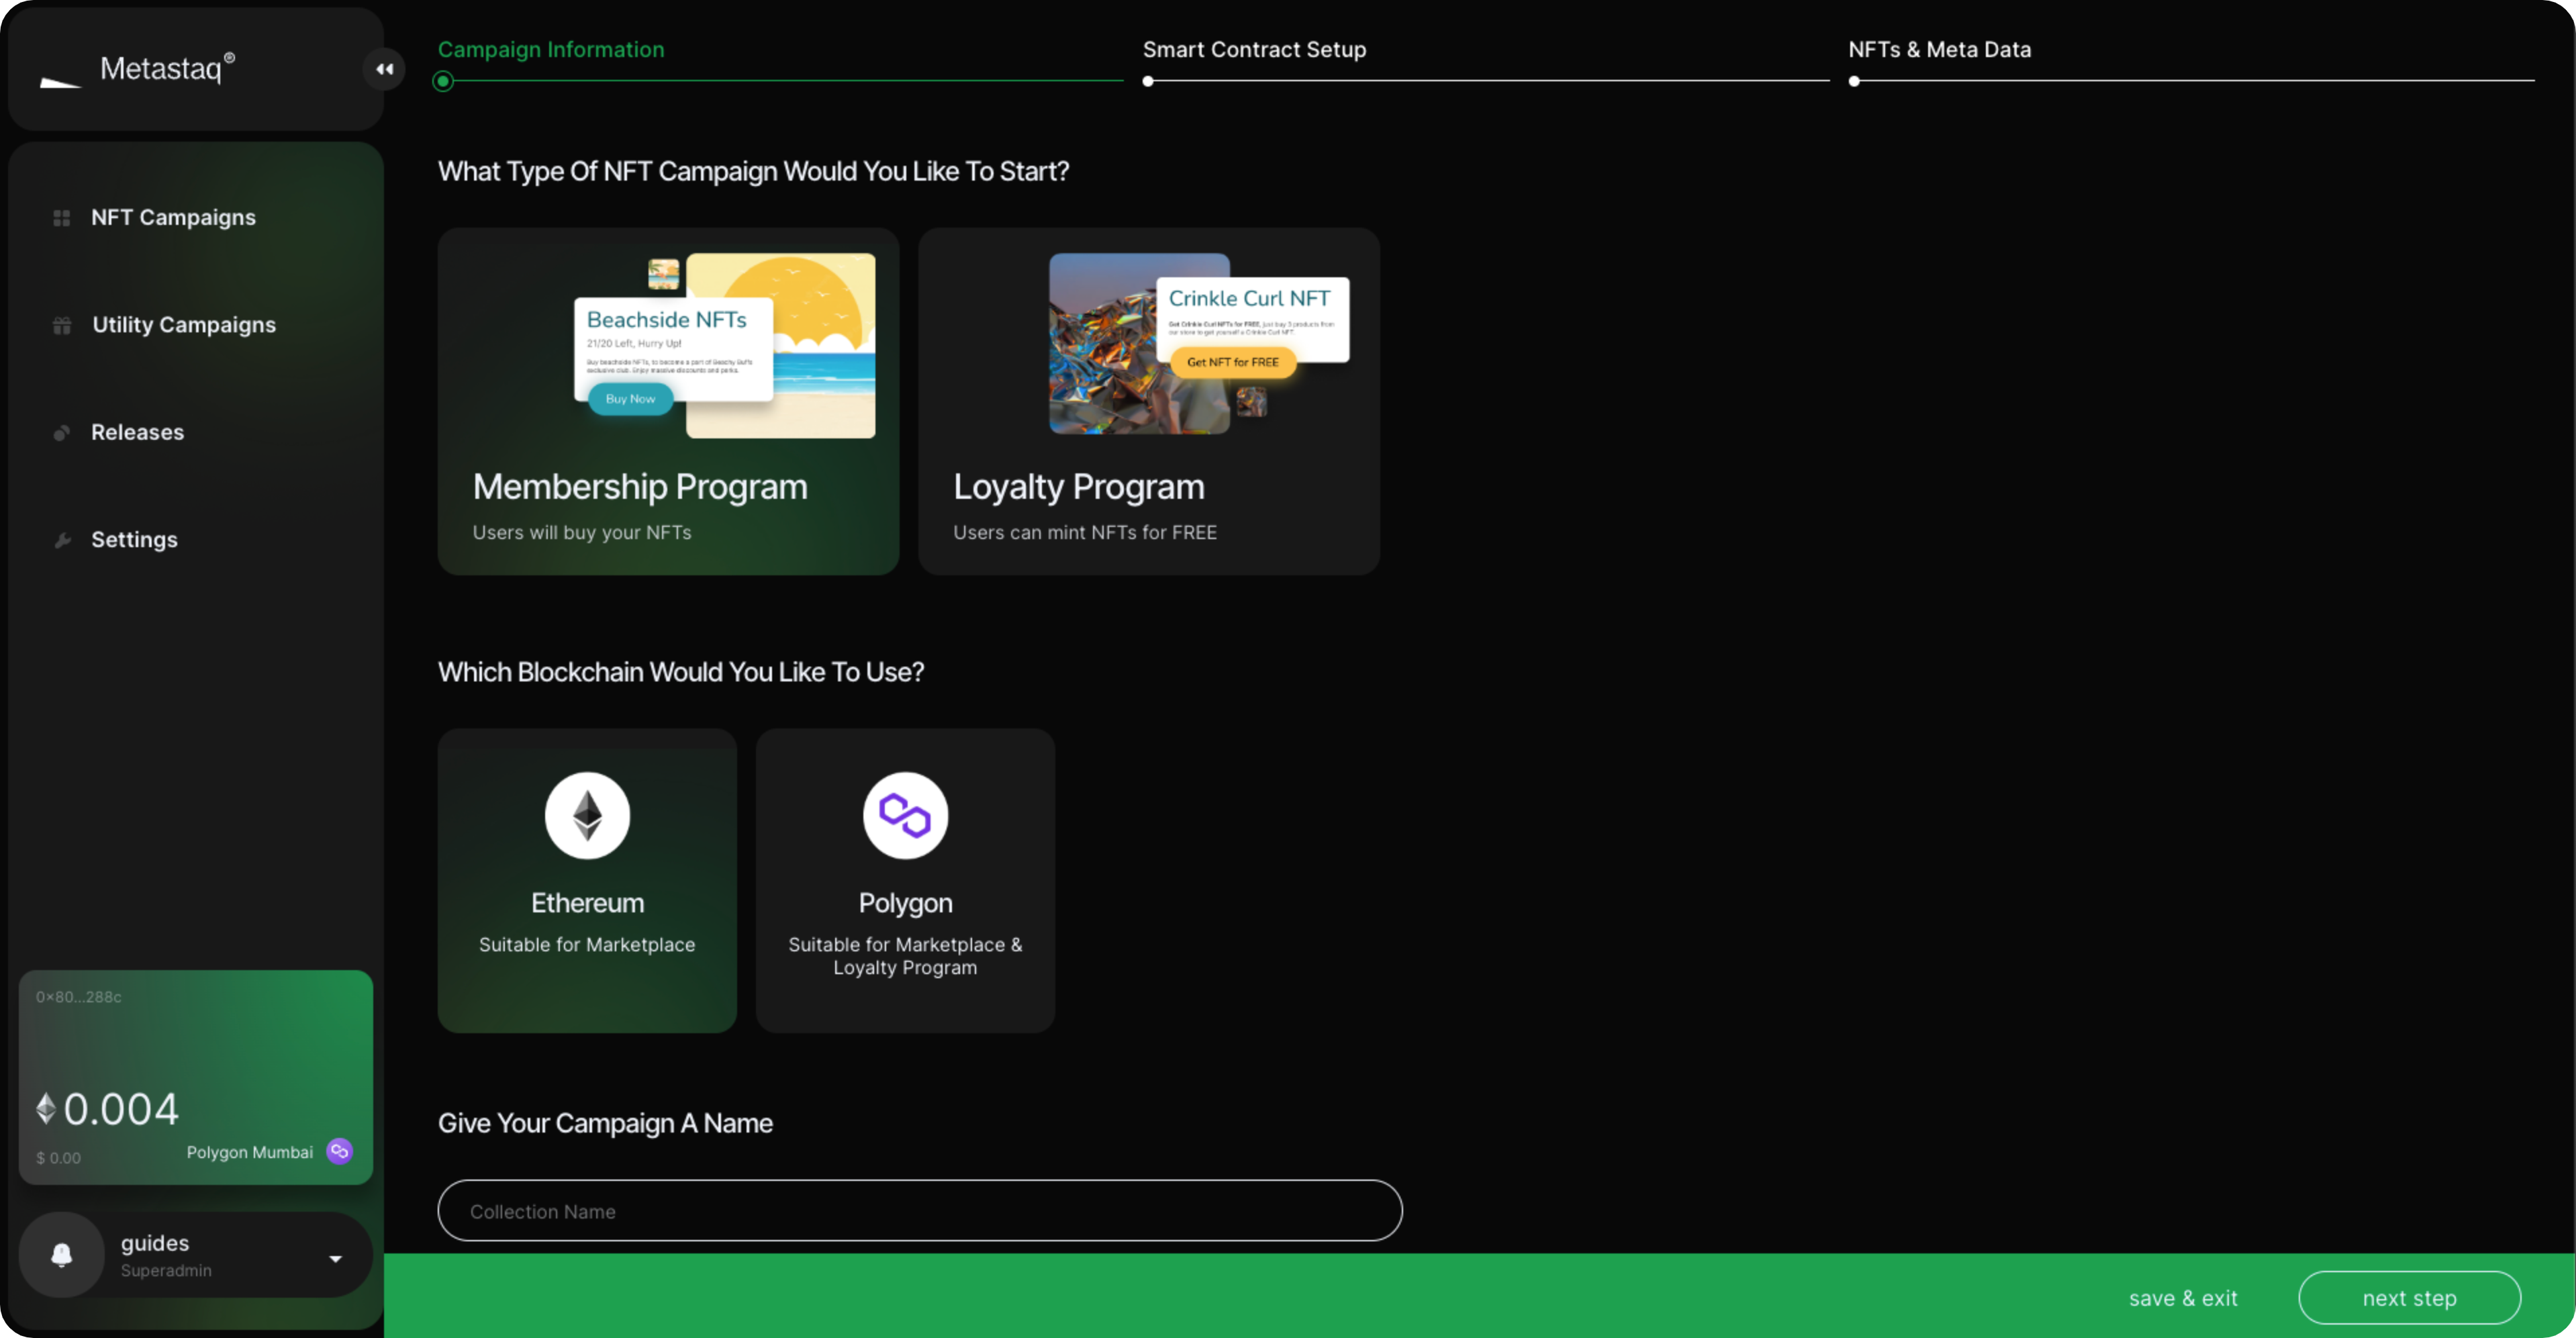
- If you would like to sell your NFTs, select the Membership Contract (ERC-721A)
- Alternatively, if you want to give your NFTs away for free, select the Loyalty Contract (ERC-721A)
- Select your blockchain (Polygon or ETH)
- Enter a name for your collection. Please note: this is your smart contract name that'll show up on etherscan and the various marketplaces once the NFTs are sold. Once deployed, this cannot be changed
- Setup your Smart Contract:
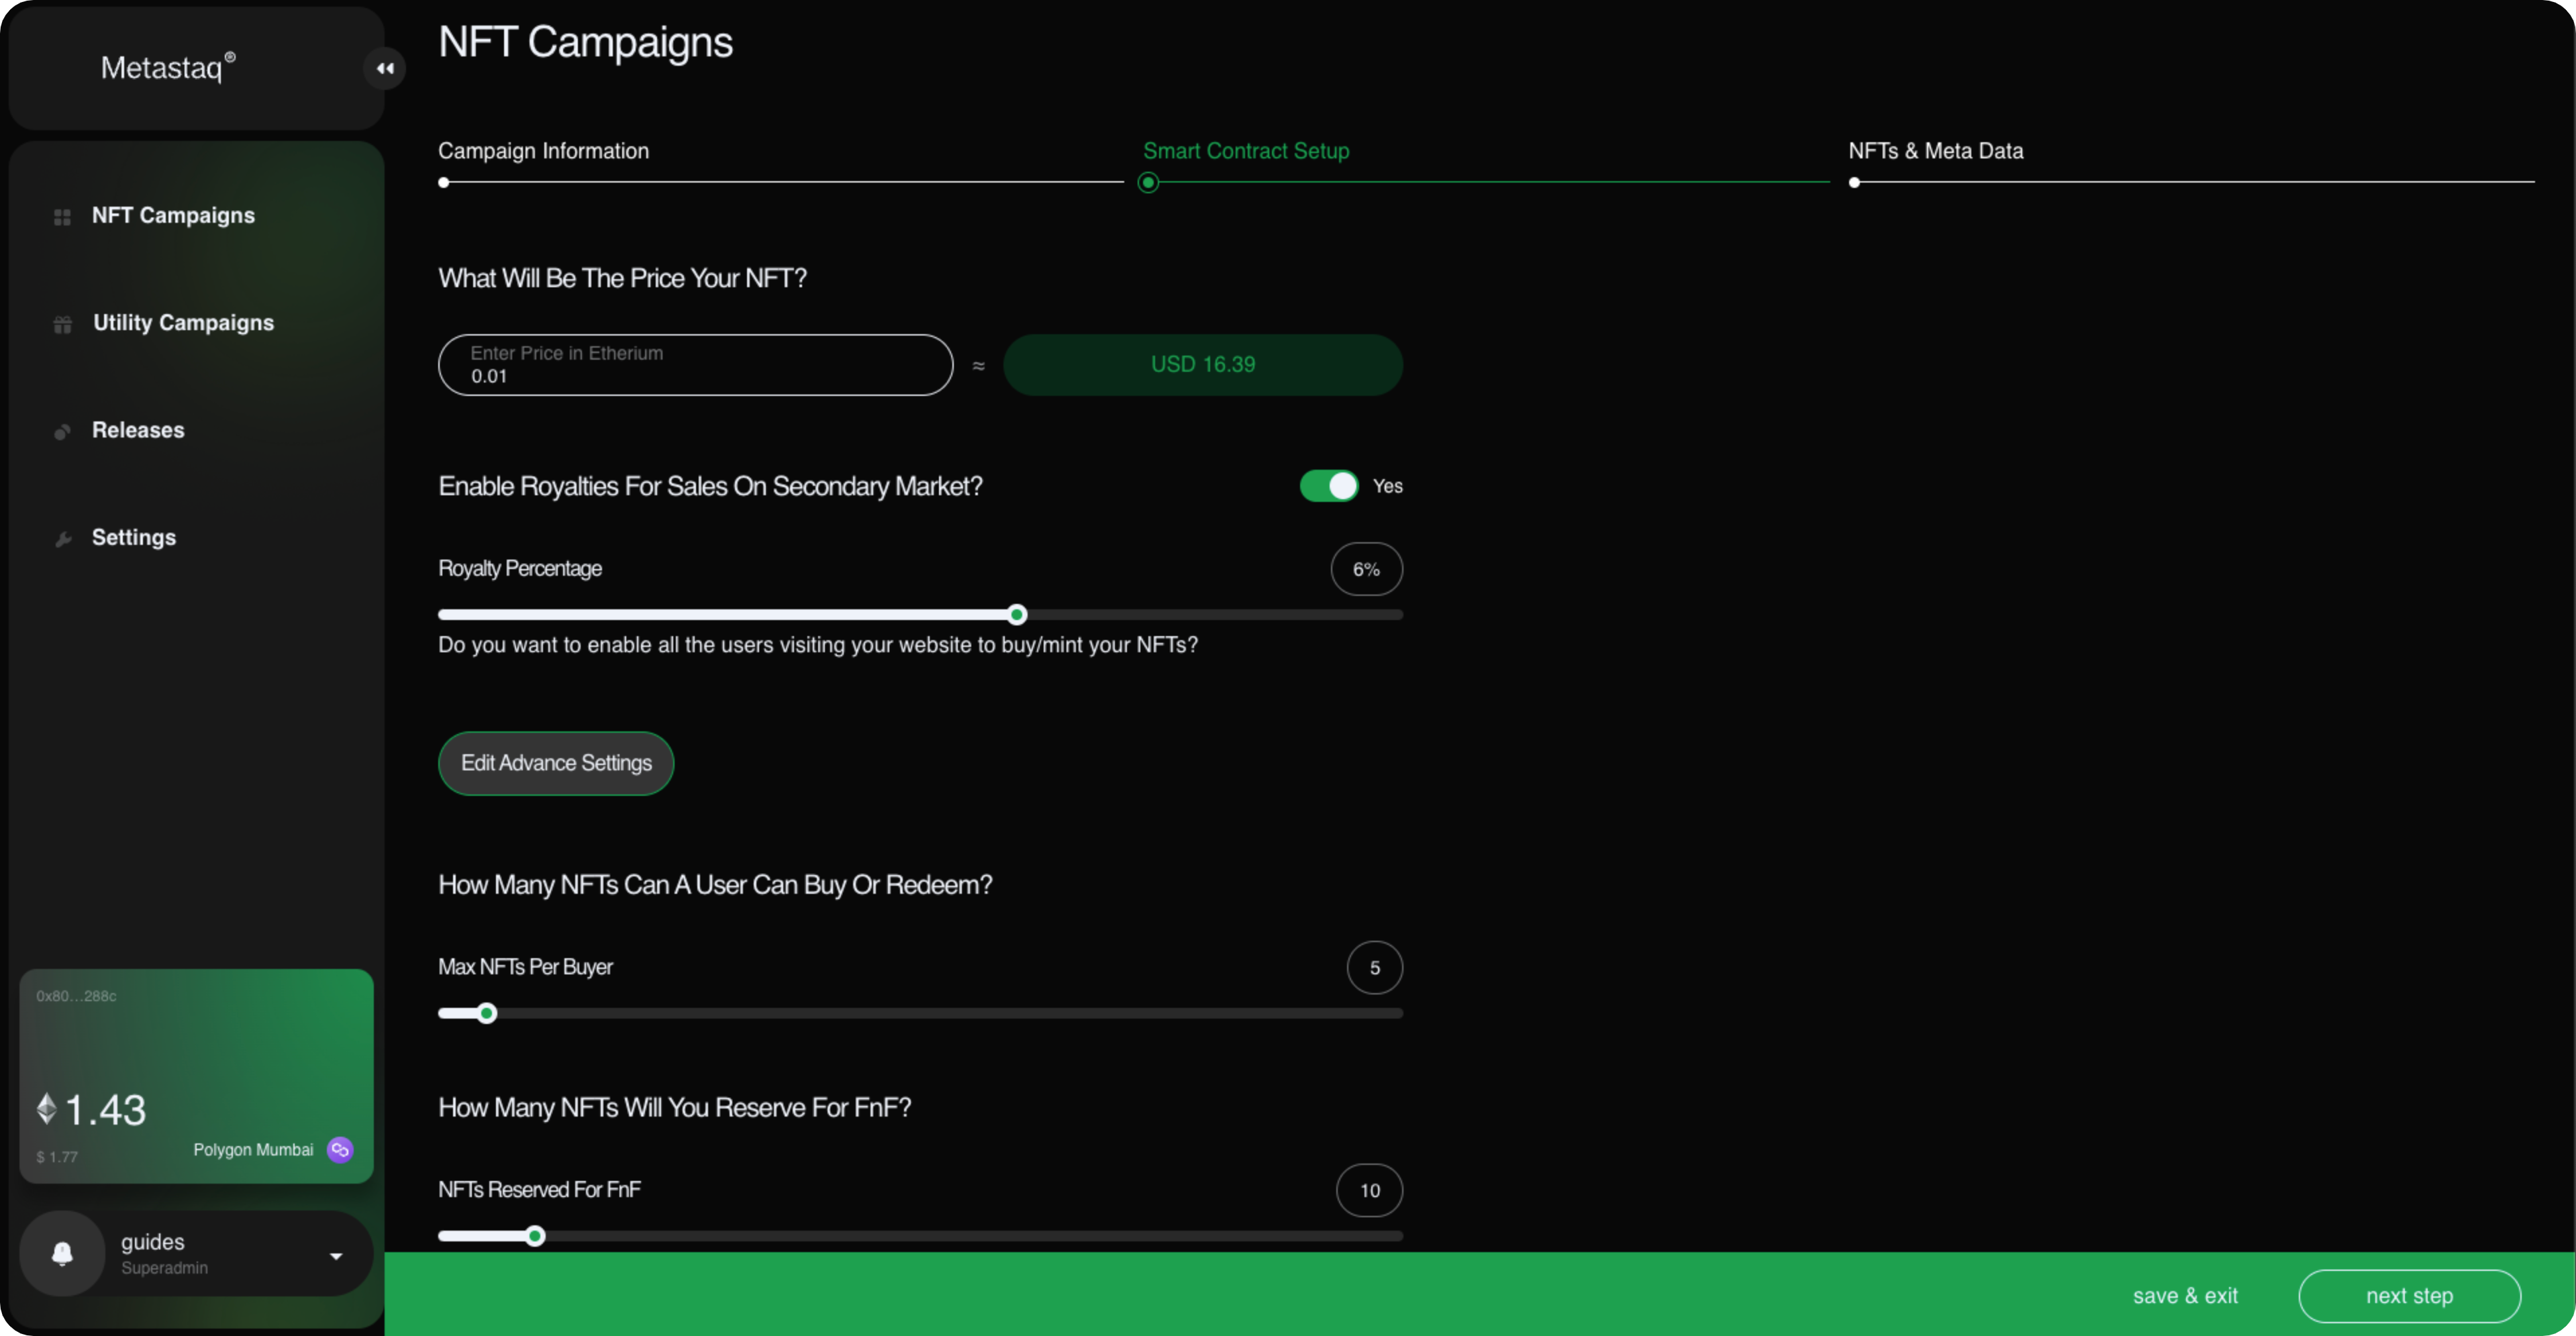
- If you chose a paid contract, set a price for your NFT.
- Choose whether you want to be paid royalties on secondary market sales and set the royalty percentage.
- Set the per-wallet mint limit
- Choose how many you would like to reserve for yourself
- Upload your NFTs
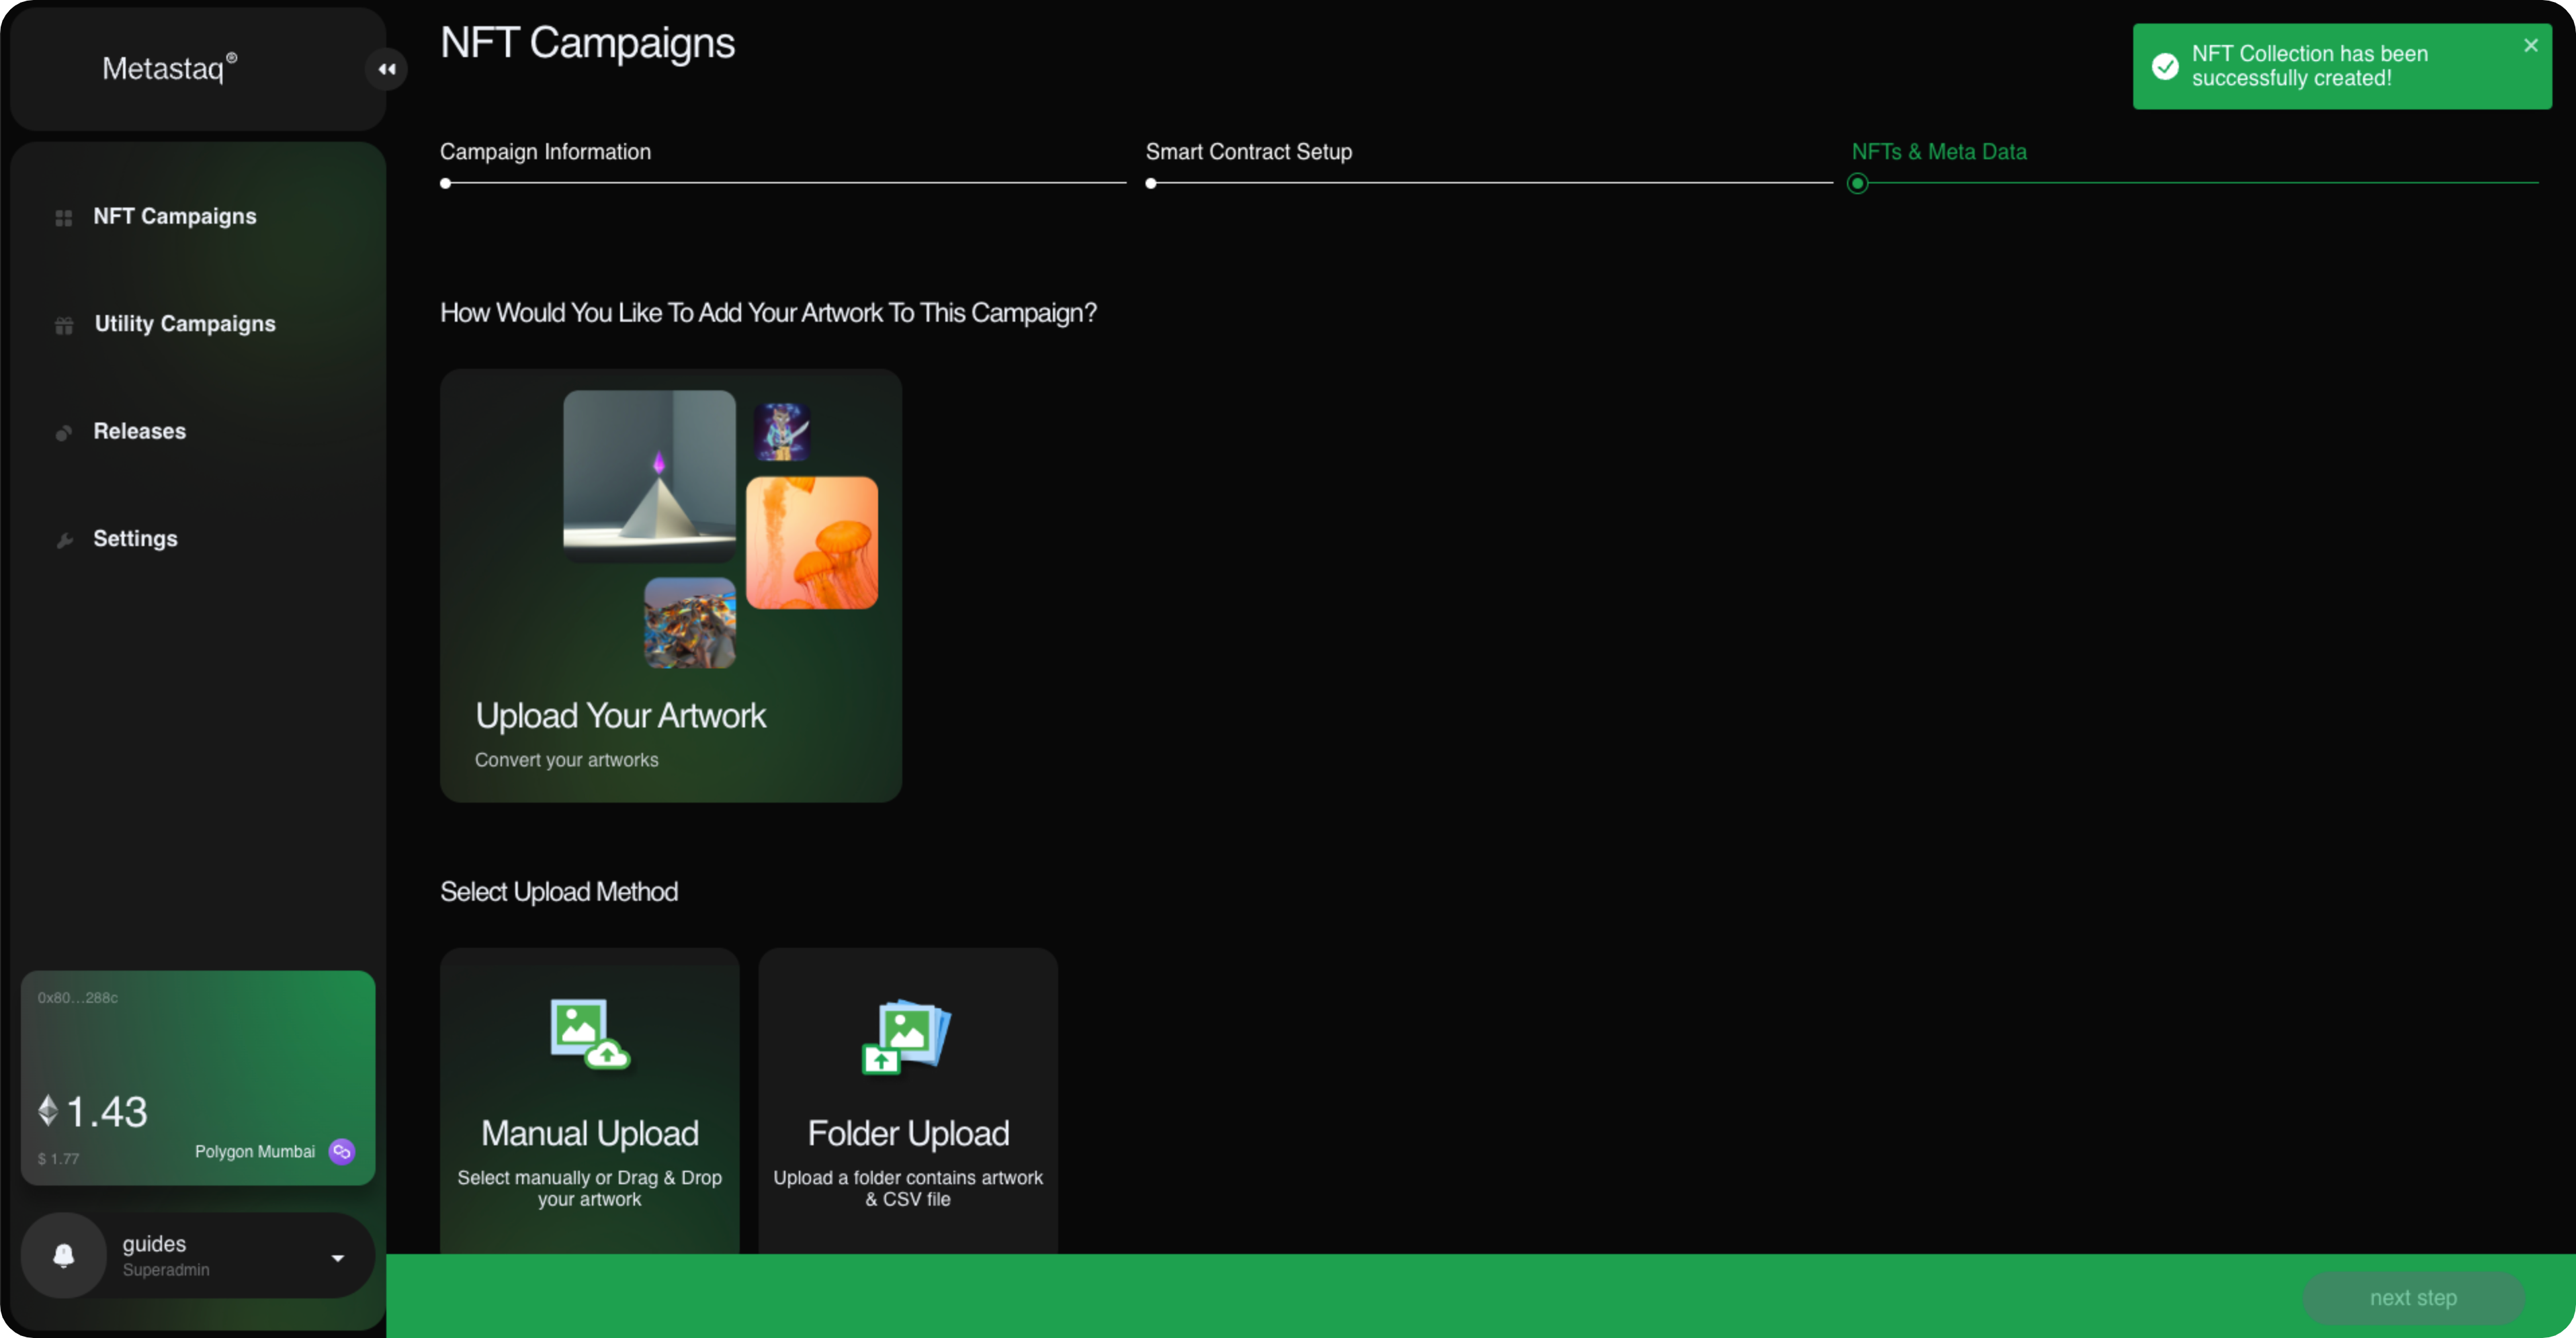
For a comprehensive guide on the various different options we provide for uploading assets, please visit our Upload NFTs page.
- Deploy your Contract
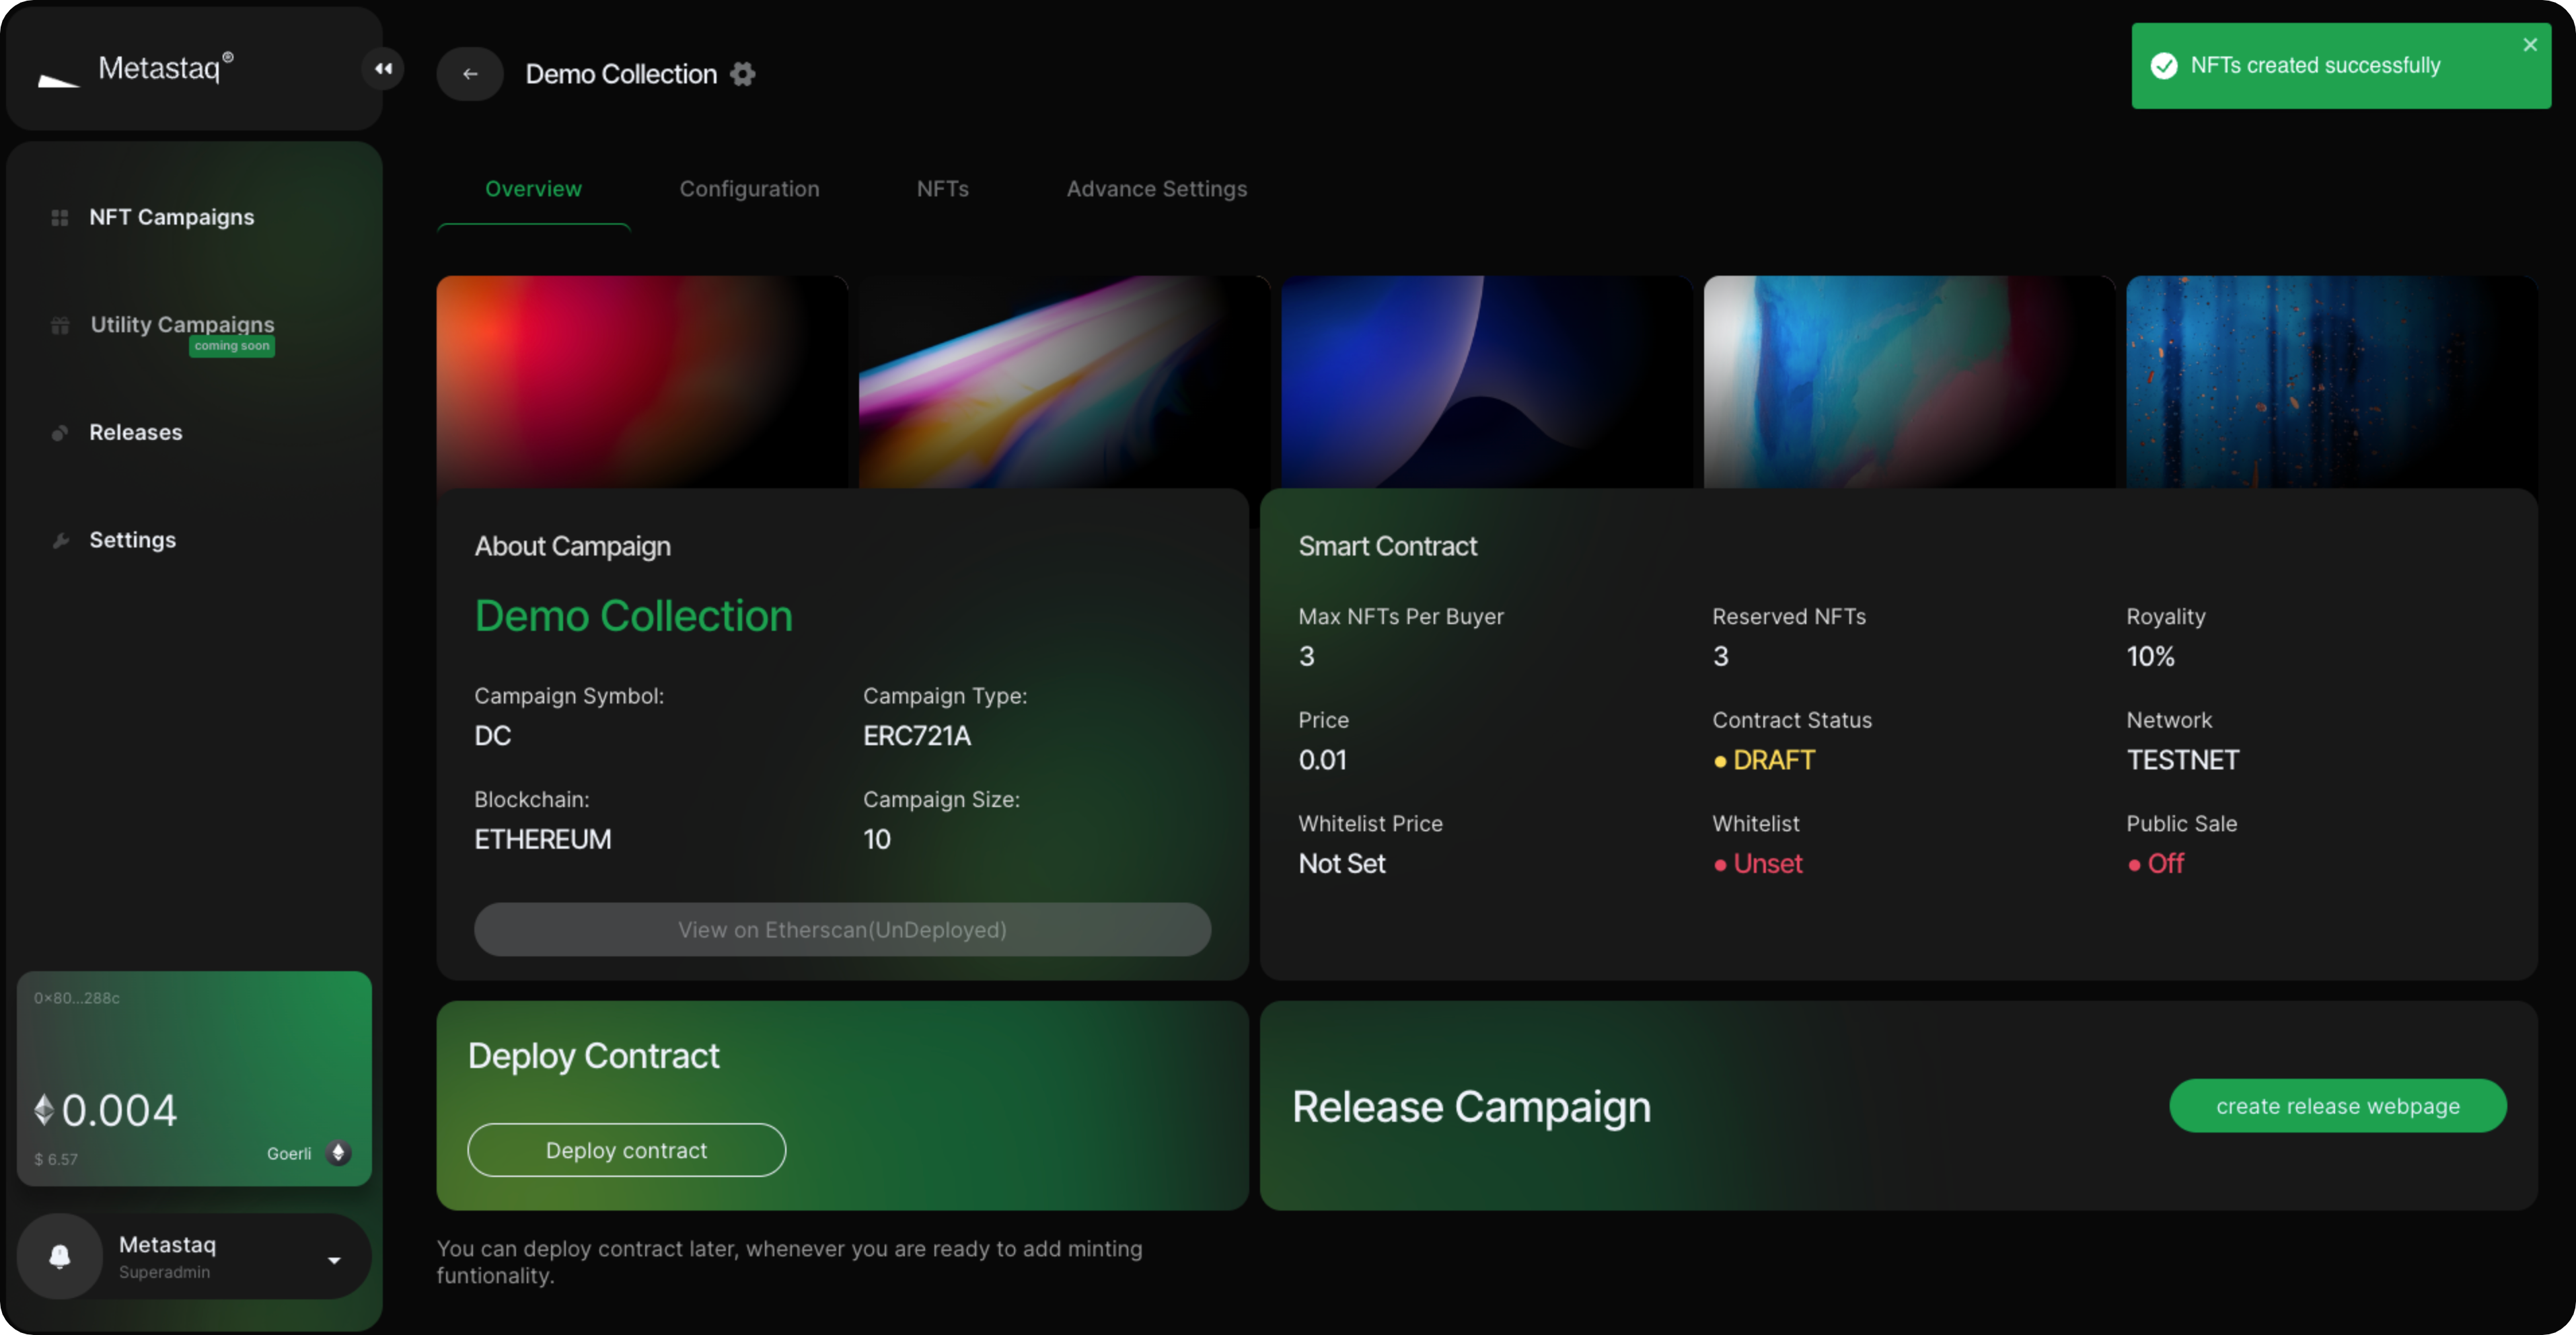
We allow users to test their entire drop, including the end-user experience and as well as design their webpage before deploying the contract. This is because deploying your contract will require a wallet and cryptocurrency. As such, this step is optional at this stage. However, before going live, you will need to deploy your contract. You can find detailed instructions on this at our Deploy your Contract page. Alternatively, you can go ahead and create your Webpage first, which we outline in the Create your Drop Page guide.